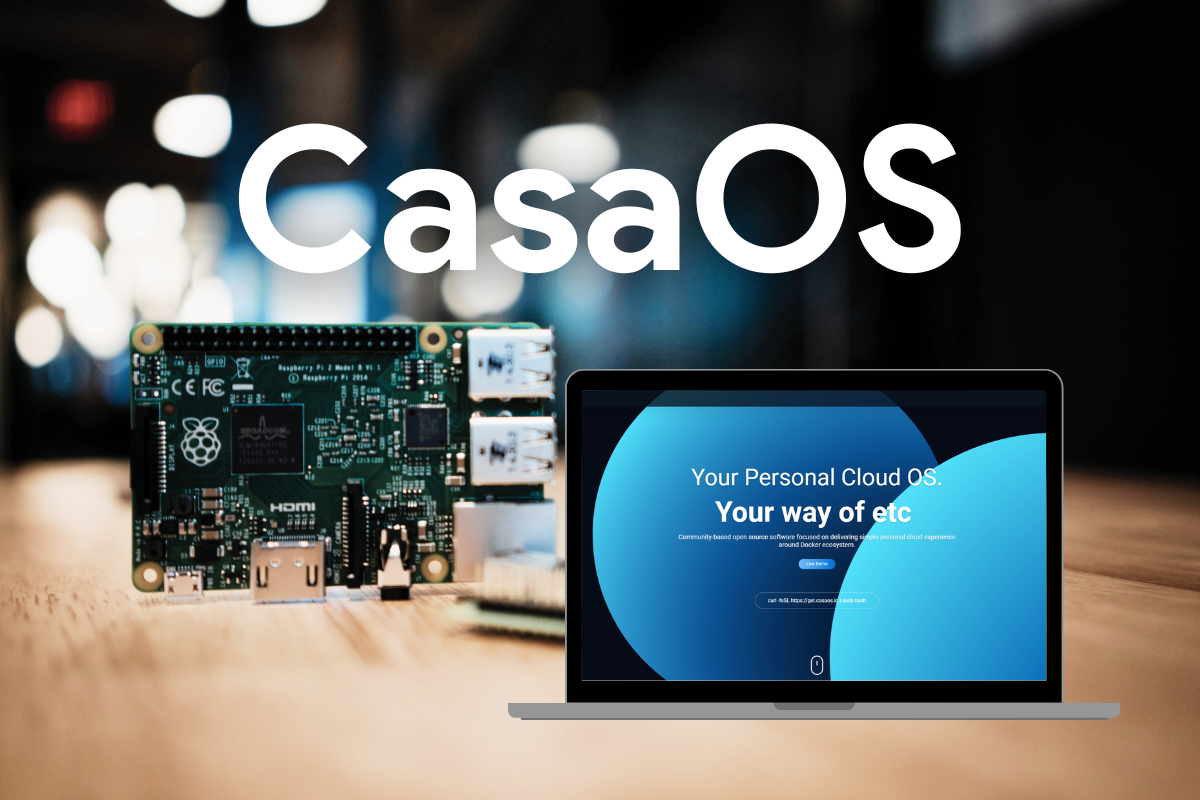
Photo by Jeff Loucks on Unsplash
In the ever-evolving world of home technology, the Raspberry Pi continues to be a versatile and powerful tool for tech enthusiasts and hobbyists alike. Today, we’re diving into an exciting project that can turn your humble Raspberry Pi into a personal cloud server using CasaOS. This open-source, user-friendly cloud system is designed to make managing your digital life easier and more efficient.

CasaOS is an innovative platform that transforms your Raspberry Pi into a multifunctional cloud server. It offers a range of features including file management, self-hosted application support, and smart home device integration, all accessible through an intuitive web-based interface. One of the key advantages of CasaOS is its compatibility with various operating systems, including Raspberry Pi OS, Ubuntu, and Debian.
Let’s walk through the process of setting up CasaOS on your Raspberry Pi. Follow these steps carefully, and you’ll have your personal cloud server up and running in no time.
Step 1: Prepare Your Raspberry Pi
- Start by installing Raspberry Pi OS (preferably Lite for a minimal setup) using the Raspberry Pi Imager.
- Ensure your Raspberry Pi is connected to the internet and SSH is enabled.
Step 2: Update Your System
Open a terminal and run the following commands to ensure your system is up-to-date:
sudo apt update
sudo apt full-upgrade
Step 3: Install CasaOS
Use one of the following commands to install CasaOS:
curl -fsSL <https://get.casaos.io> | sudo bash
or
wget -qO- <https://get.casaos.io> | sudo bash
This command downloads and executes the installation script.
Step 4: Access the CasaOS Dashboard
Once the installation is complete, the terminal will display an IP address. Open a web browser and enter this IP address to access the CasaOS dashboard.
Step 5: Set Up Applications
Use the built-in app store within CasaOS to install and manage applications.
For a visual guide on the installation process, check out this helpful YouTube tutorial: CasaOS Installation Guide.
To deepen your understanding of CasaOS and get more detailed guides, you might want to check out these resources:
- Raspberry Tips: Getting Started with CasaOS on Raspberry Pi
- Peppe8o: How to Install CasaOS in Raspberry Pi
- Instructables: Casa OS With Raspberry Pi
Once you have CasaOS up and running, you’ll discover a wealth of features that make it a powerful tool for home server management. From file sharing and media streaming to home automation and data backup, CasaOS offers a centralized platform for all your digital needs.
As we conclude, it’s worth considering how a personal cloud server like CasaOS can contribute to family safety online. By hosting your own cloud services, you gain greater control over your family’s data and online activities. You can implement stronger privacy measures, monitor network usage, and create a safer digital environment for your loved ones. Additionally, by teaching family members about self-hosted solutions, you’re fostering digital literacy and promoting a more conscious approach to online security.
Setting up CasaOS on your Raspberry Pi isn’t just a fun tech project – it’s a smart way to keep your family safer online. By creating your own personal cloud server at home, you’re taking control of your family’s digital life. You can better protect your data, keep an eye on what’s happening on your network, and create a safer online space for everyone.
This DIY homelab project is a great opportunity to learn about technology. It’s a step towards being more independent online and understanding how to stay safe in the digital world. You might be surprised at how much peace of mind your own personal cloud server can bring to your home.

Leave a Reply